Locating data sockets in your workplace,
I have worked in many different industries and buildings over my career, but there is always something consistent about data cabling, there are always un labeled sockets.
Unless your in mining, and everything is usually labeled!
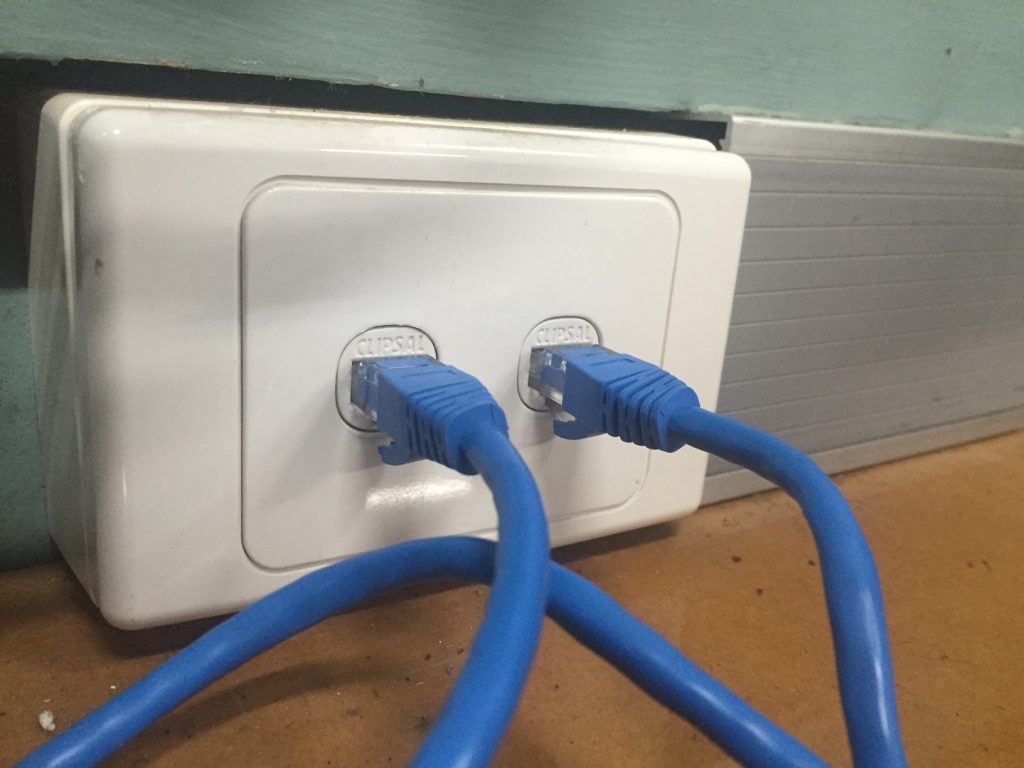
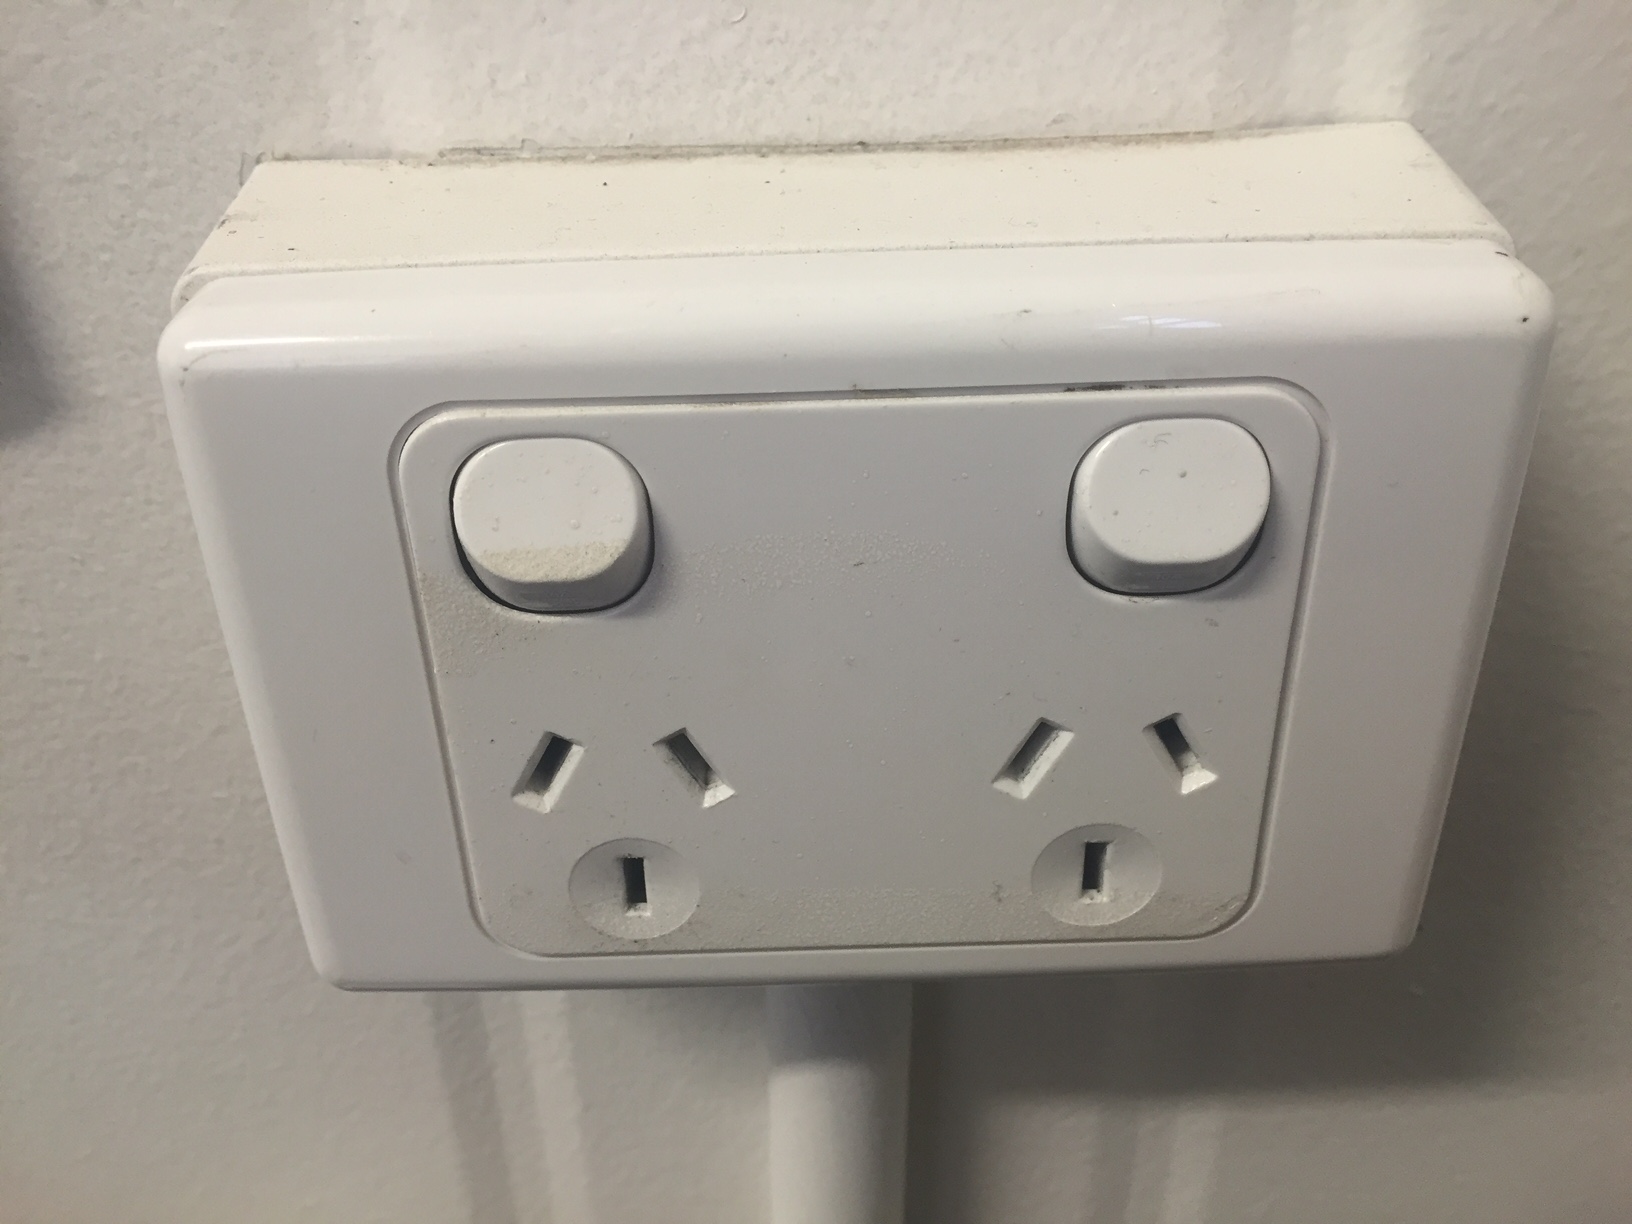
Usually you are presented with something like this:
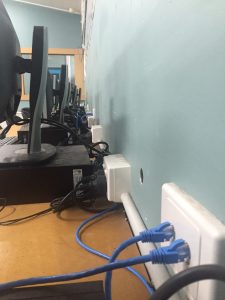
Or if your lucky / unlucky enough, a whole room / building:
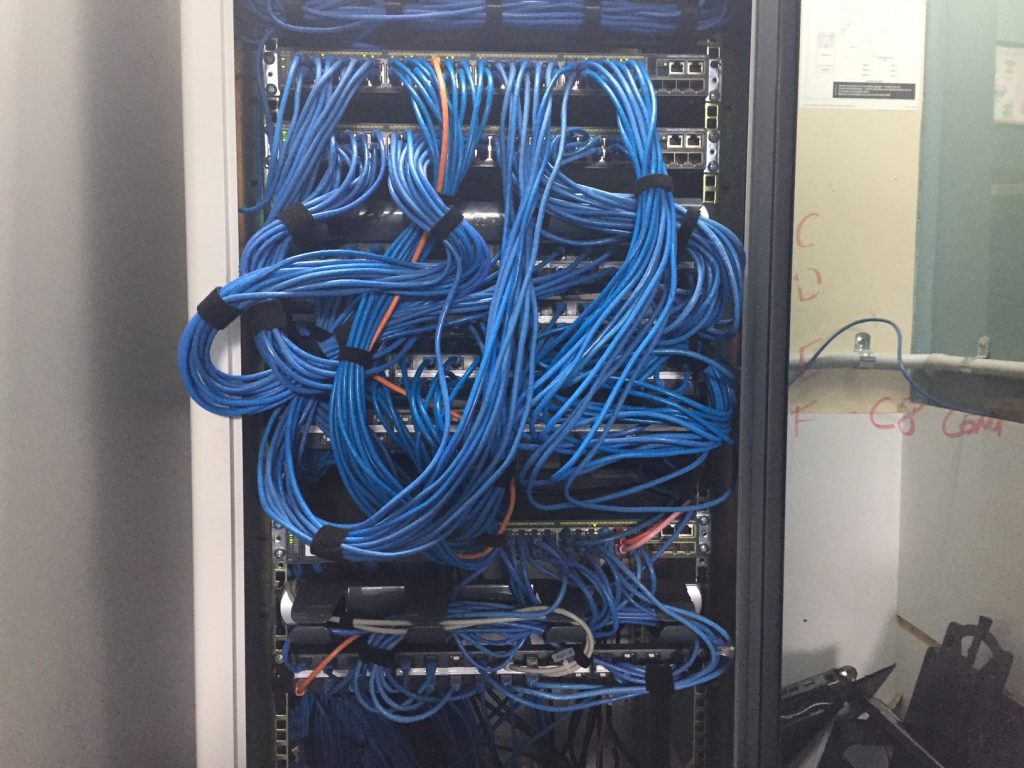
Or maybe from the other way around? Like this:
With zero labeling, or any indication where they may go.
How do you go about locating a socket at either end??
—
First step, does the socket have any labelling? Yeah I know this should be a no brainer, but pull the outer case off the point to expose the screws, sometimes cablers will write the point number on the top.
This is really good for locating a tripped circuit breaker on a power point as well!

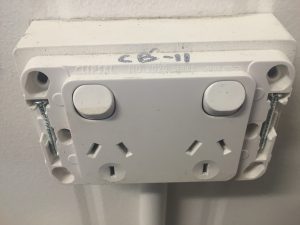
Circuit Breaker 11!
No luck there?
Do the points left and right of the point in question indicate what the number might be? You might see two points on the left labeled E21,E22 and on the right you see E26,E27
So one might assume a good place to start looking would be E23, E24 or E25.
From the patch panel end, is there any documentation on where the points go?
Who am I kidding? That’s why your here right?
Next step,
Does the point have network connectivity?
Plug your laptop in and find out!
If you are in a medium to enterprise environment you might (hopefully) be using smart switches. Depending on their configuration, the switch will broadcast a packet down the port you are connected to over a system called LLDP (Link Layer Discovery Protocol) or CDP (Cisco Discovery Protocol).
Using software such as LDWin or a NetPi, you can read those messages and identify the port.
There is one caveat to this approach, if you are connected to a dumb switch, it will not broadcast the required packets.
How do I tell if the switch is smart or dumb? Check for a console port on the front or back of the switch If it has one, it will generally be smart. If the switch has an IP address, it is usually smart also.
NOTE: If you have smart devices such as WAP’s and / or a smart switch attached to a dumb switch, the dumb switch will rebroadcast all of the CDP and LLDP packets to your computer giving you conflicting and incorrect information.
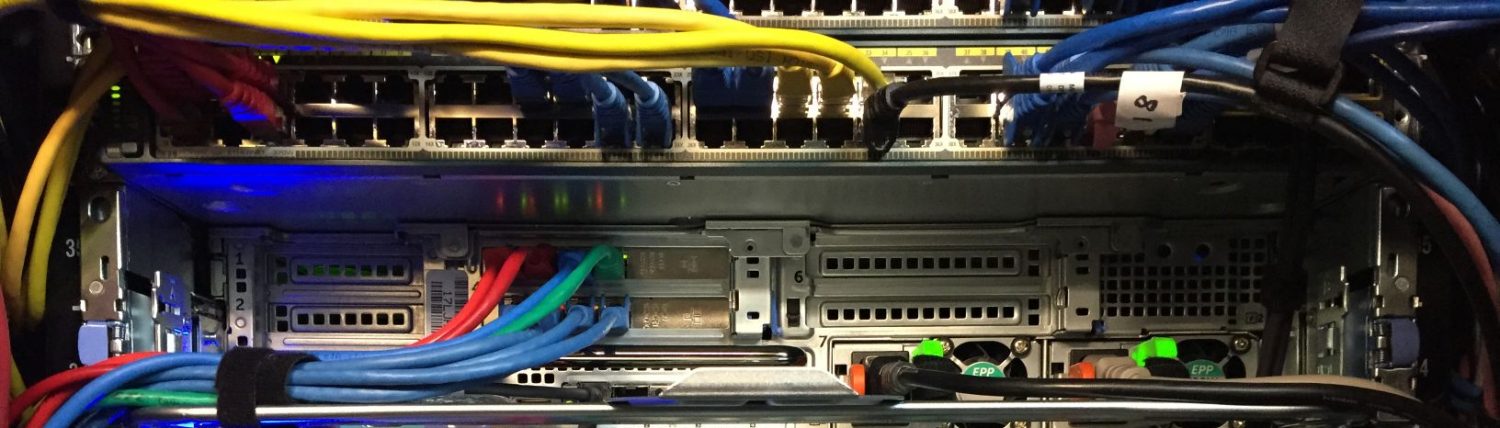
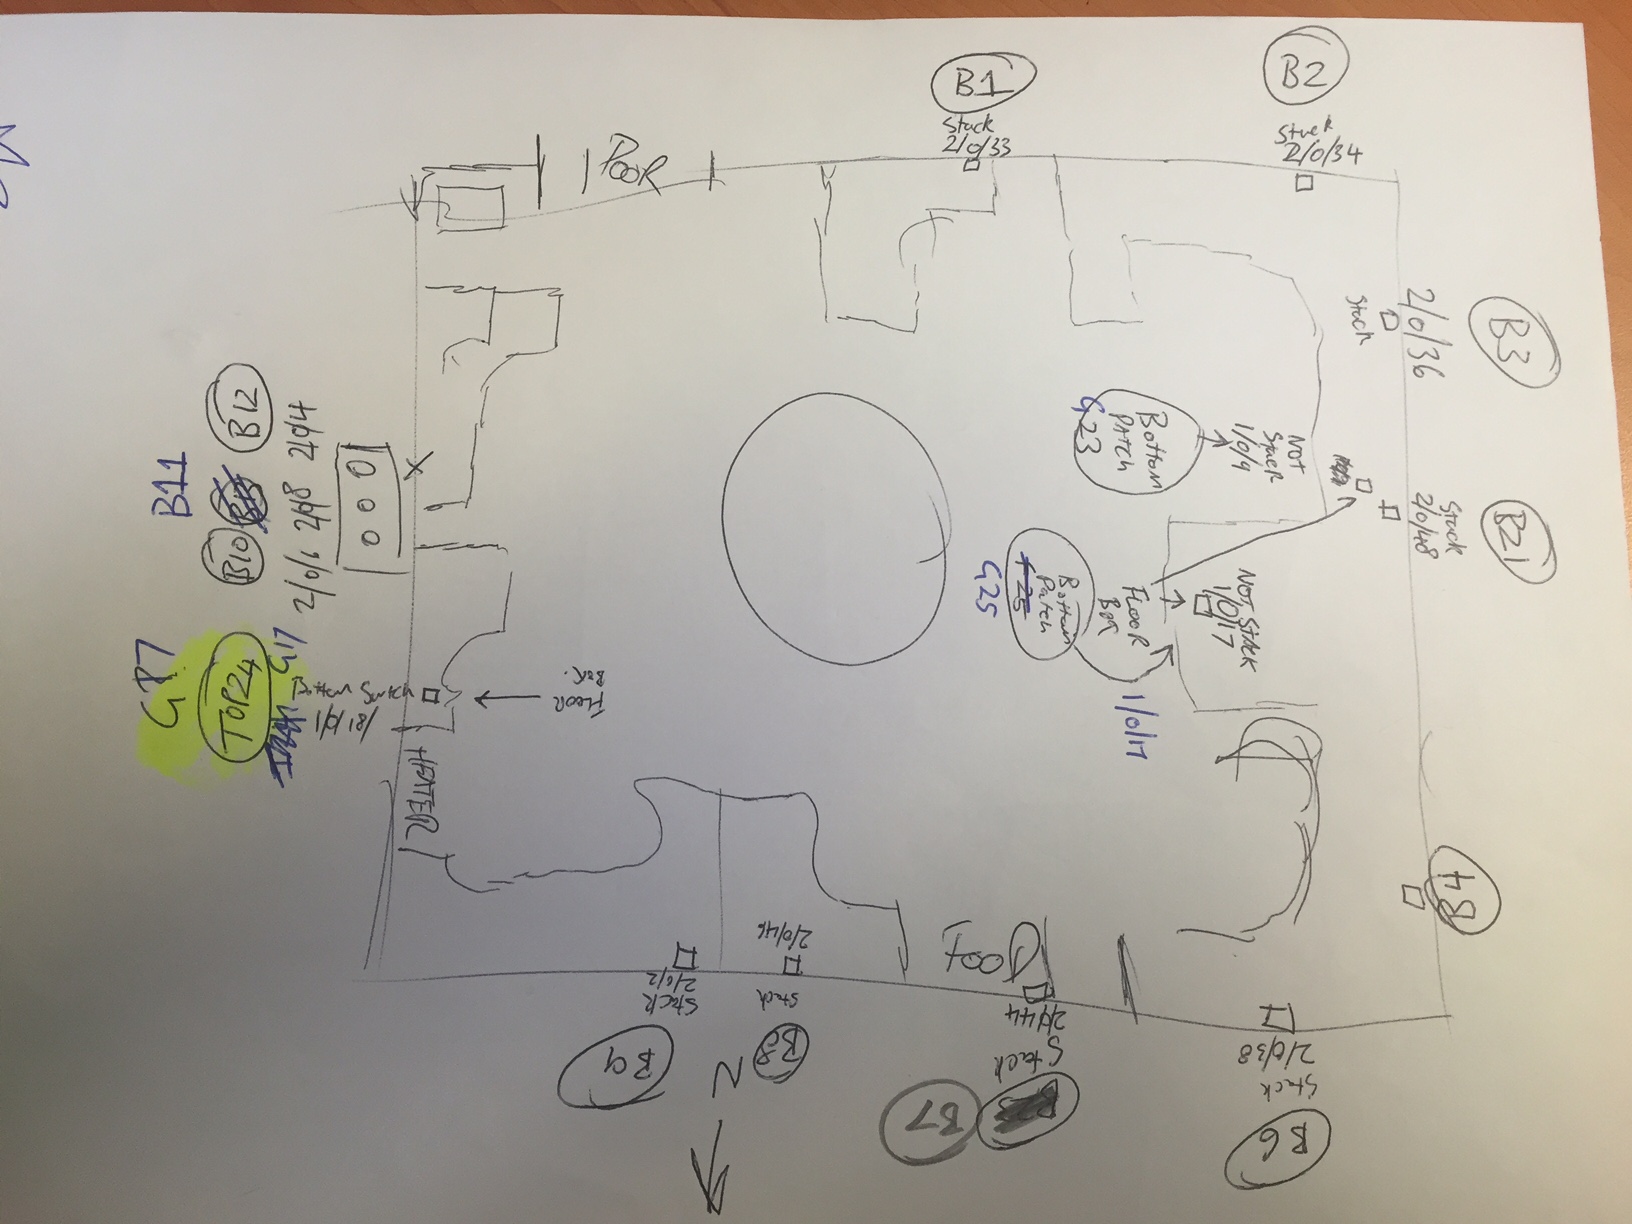
Once you have the point number life is easy! We would go around to every point in a room and write down the point’s port on a mudmap.
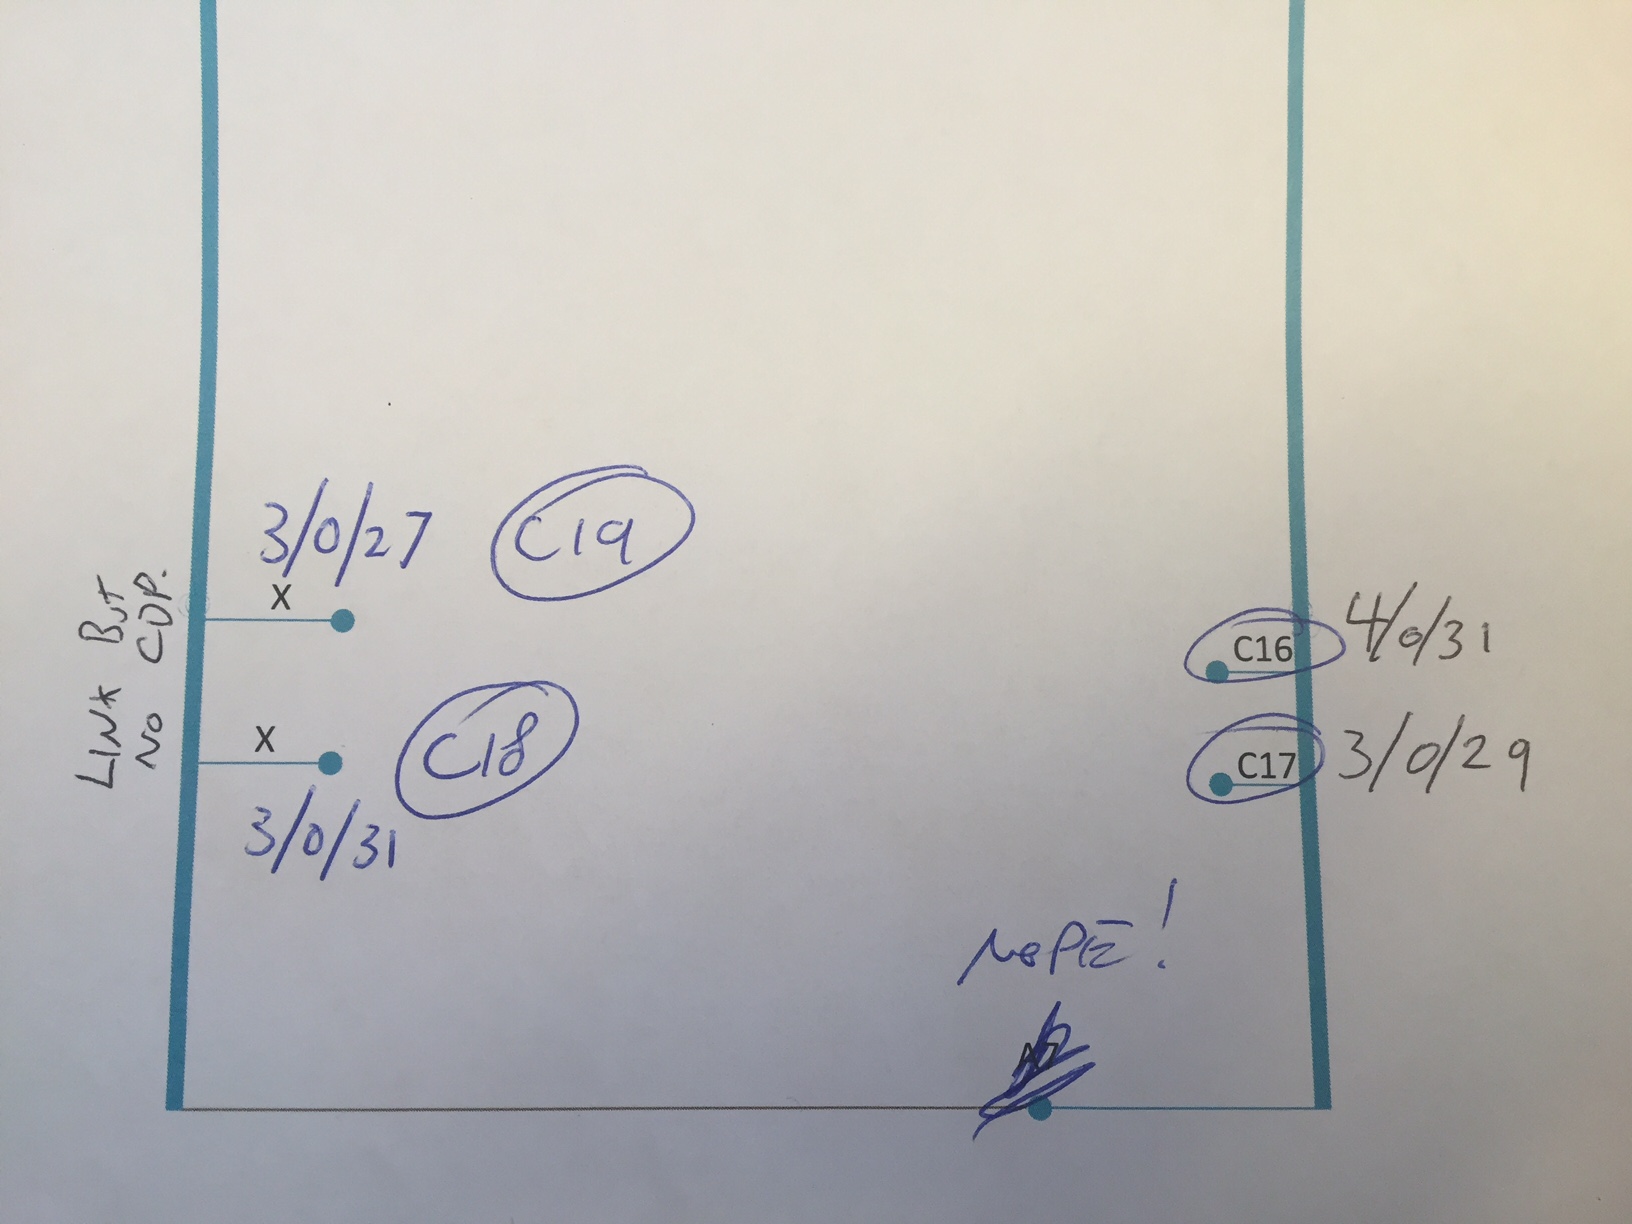
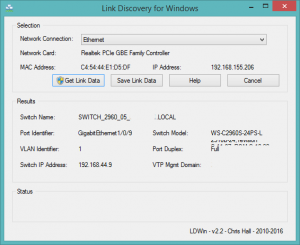
In the example above, you can see the Cisco port numbers represented as 3/0/27 and 2/0/4. Usually, a single switch will start with 1/0/xx. When the switches are in a stacking configuration, the first number generally indicates the switch.
So 3/0/27 would be switch 3, port 27
Here is an example from LDWin
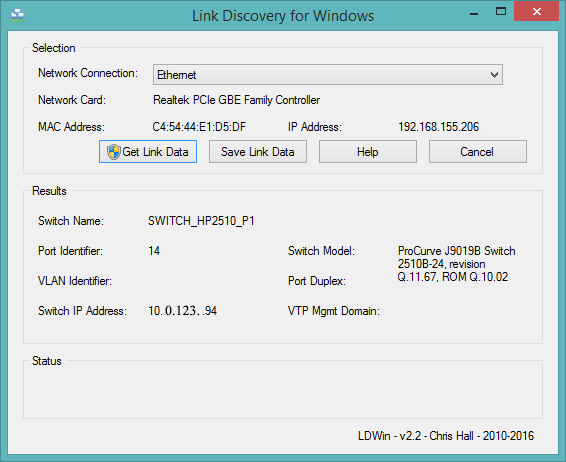
For Cisco, it would report something like:
For HP:
Helpful hint:
If you approximately know what switch you will be connected to, set the CDP and LLDP timers from the default 30 seconds to 5 seconds to speed up the discovery of ports.
This is done by Connecting to your Switch’s CLI,
For Cisco:
>Configure Terminal
#cd timer 5

For HP:
#Configure Terminal
#lldp refresh-interval 5
![]()
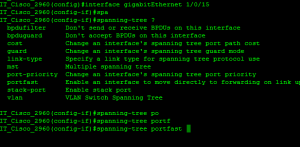
Also, setup portfast on your Cisco switch so you don’t spend time waiting for the port to negotiate.
Apply portfast to a range of ports while you are testing
Select your interface range and add:
#Spanning-tree portfast
By this stage you should be able to identify which port on the switch you are connected to, head over to the rack, find the port on the switch and trace it back to the patch panel.
And there you have it! You now know the socket number!
But sir, that still didn’t work!!
Hrrm….
No problems!
We now break out a piece of test equipment called an F-Set.
The way an F-Set works is simple.
There is a transmitter and a receiver, the transmitter is put on the socket you wish to locate, and the hand held receiver goes to the other end of the cable. The transmitter emits a tone onto the wires, sort of like a vibration, this sound is carried along the cable and is emitted as it travels. The receiver is able to ‘listen’ along the pointy end and pickup this sound as you run it along the cable / put it in the sockets at the patch panel.
It can take a bit of getting used to, as the sound is not in the same place along a piece of cat 5 cable as the conductors spin around at all different points. With a bit of practice you will get the hang of it quickly.
Below are the testers that we use, the one with the socket is the transmitter, and the one with the nail is the receiver (the one that i use to run along the cables).

Some cable testers also have a ‘tone’ mode, this function performs the same as the transmitter module above.

When you are out tracing cables, you may find unexpected things or problems.
You might find a portable building that has networking infrastructure simply connected via a patch cable through a hole in the floor to the closest available socket via a dumb switch under desk.
Or maybe you will find nails in your sockets?
Either way… now you know!
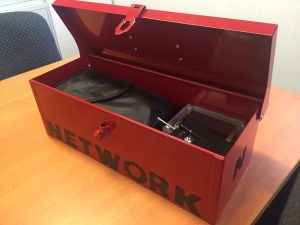
My network toolkit:
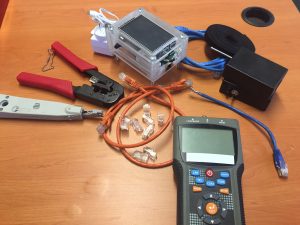
-RJ45 Crimpers
-Rj45 Crimps
-NetPi + 240v – 5V power Supply
-1.5mtr Patch Cable
-x2 30CM Patch Cables
-F-Set
-Cable tester